How Polyurethane is Revolutionizing Construction Materials
Posted on October 30, 2025 by Logo Design Tips and Tricks
Construction today demands stronger, longer-lasting, and more eco-friendly construction materials. Polyurethane, once used only in specific industries, is now changing how buildings are made. It creates lighter, moisture-resistant parts that save energy and last for years.
That’s what modern polyurethane systems deliver. Read on to discover how polyurethane is used, its benefits, key design tips, and where to find expert solutions.
What is Polyurethane and Why It Matters
Polyurethane is made by mixing polyols and isocyanates, creating a material that can take many forms. It can be turned into rigid foam, flexible material, or a strong coating. This makes it useful in industries that need both strength and flexibility.
In construction, polyurethane is used for insulation, sealants, and adhesives. It provides strong support, resists moisture, and helps improve energy efficiency. These features make it ideal for modern building projects.
Its versatility lets it replace several older materials in construction and manufacturing. Using polyurethane helps lower costs, simplify work, and make products last longer. This balance of strength and light weight makes it an important modern material.
Key material properties
Polyurethane is valued in construction for its strong yet lightweight nature. Rigid foams and elastomers are strong yet light, making construction quicker and cheaper. This balance improves both strength and efficiency on the job site.
It also offers excellent thermal insulation. The closed-cell structure traps air, keeping indoor temperatures steady and lowering energy costs. This makes polyurethane ideal for energy-efficient and sustainable buildings.
In addition, polyurethane resists water and harsh chemicals found on construction sites. It bonds well to many construction materials and stays flexible, preventing cracks from movement. These features establish it as a reliable choice for constructing durable, long-lasting structures.
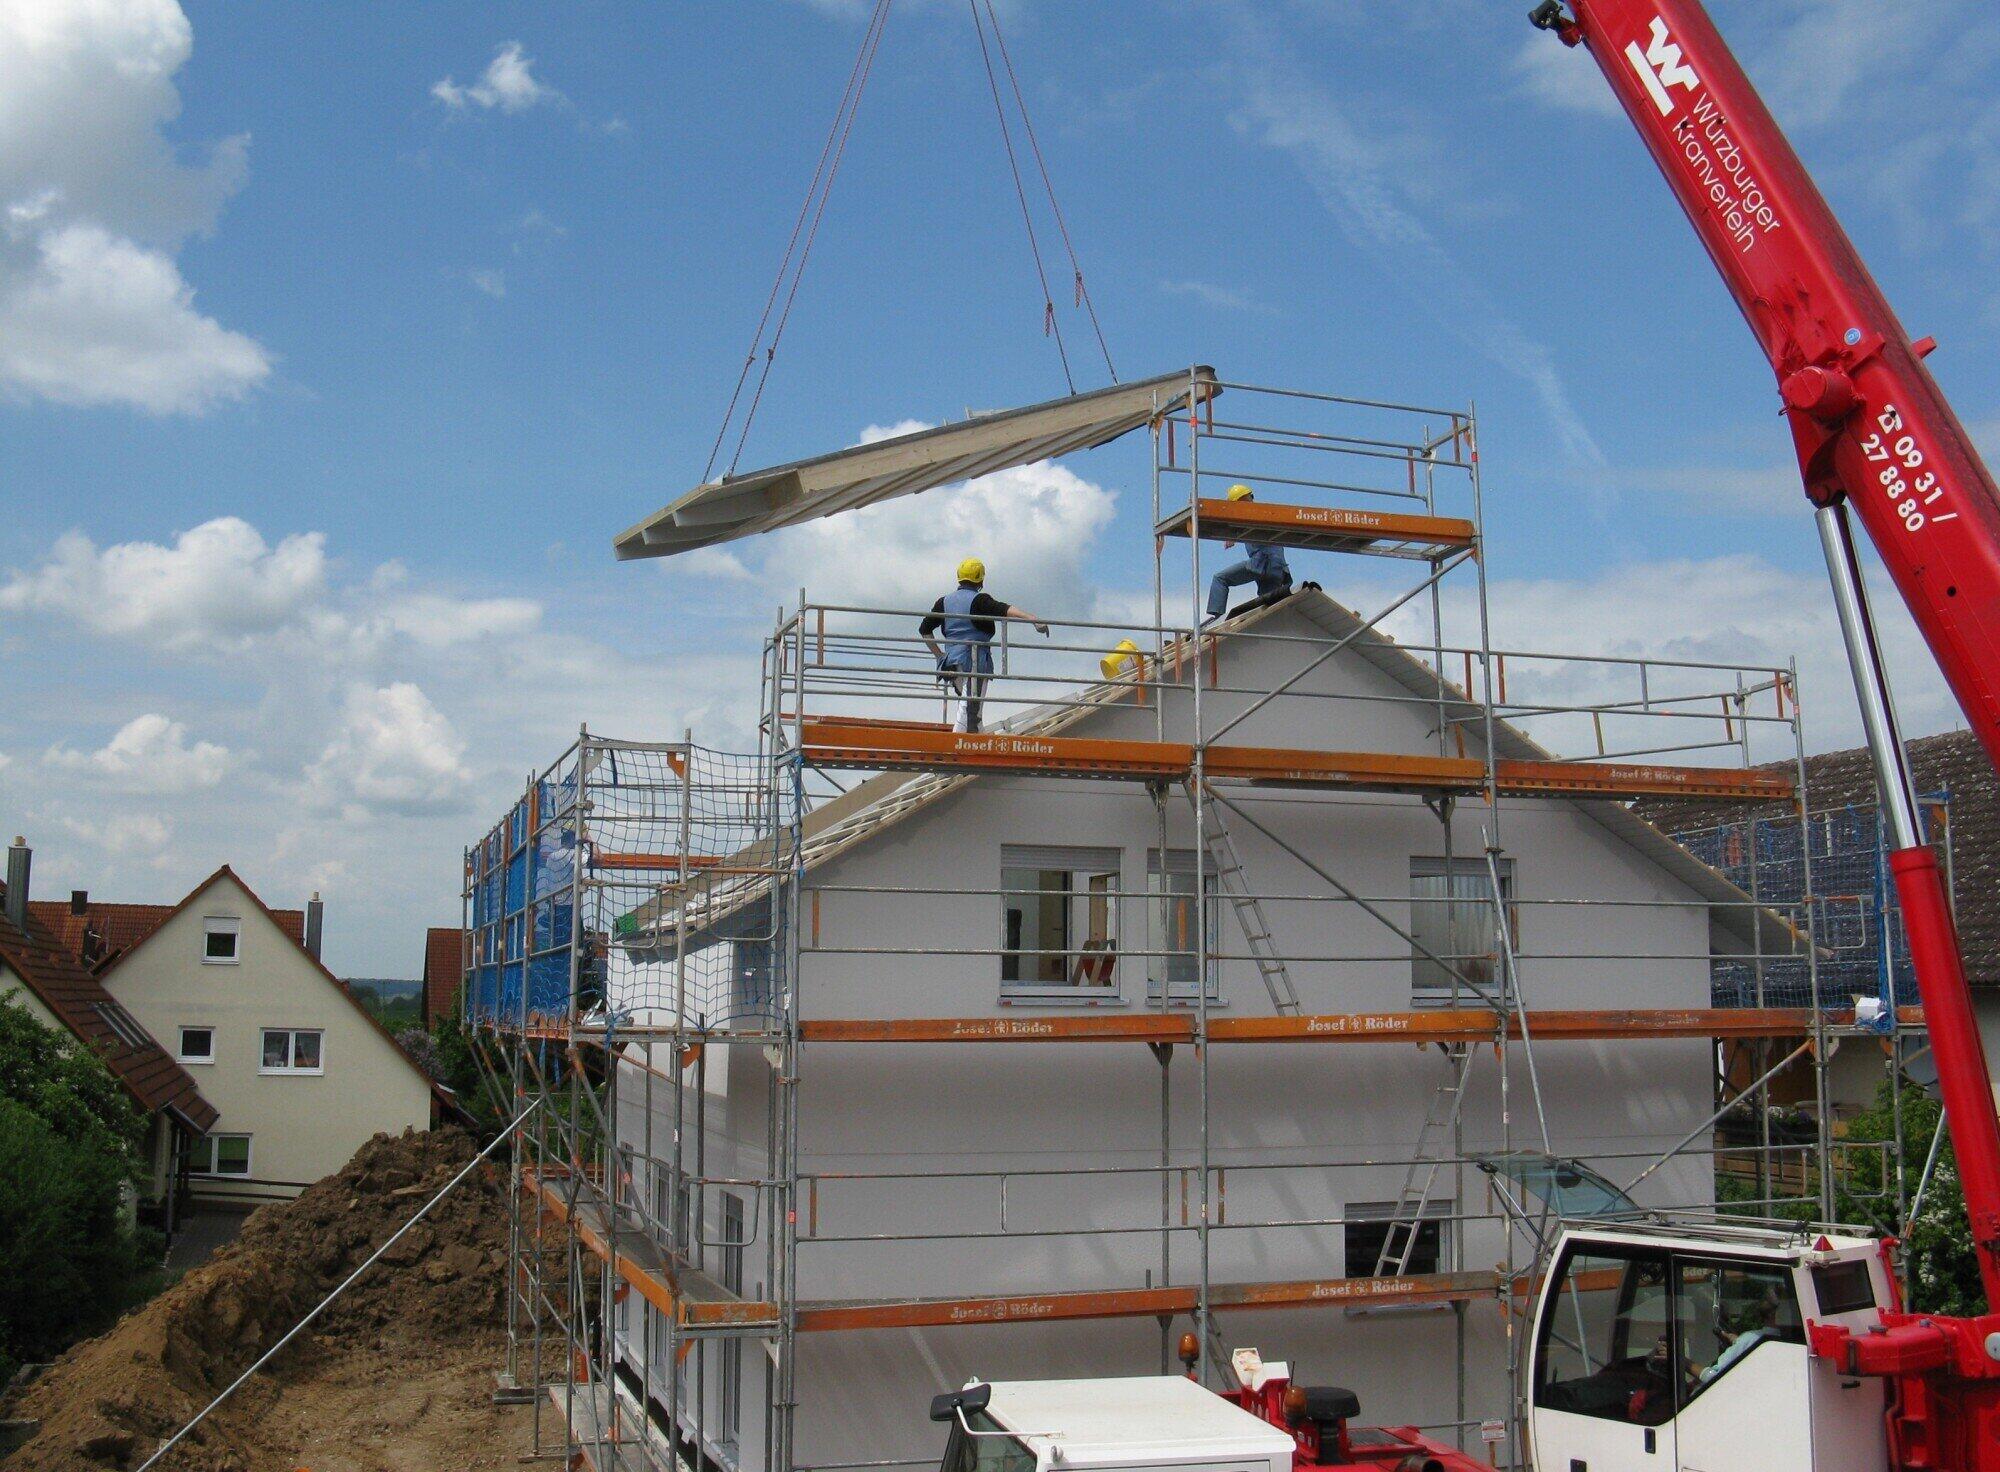
Primary Applications in Construction
Polyurethane is used in construction for insulation, sealants, and coatings. It keeps walls, roofs, and floors well insulated. It also helps seal and protect surfaces, making buildings last longer.
Spray and Rigid Foam Insulation
Spray polyurethane foam (SPF) and rigid panels are used widely for roof, wall, and cavity insulation. SPF seals gaps and creates an air-tight barrier, reducing thermal bridging and improving indoor comfort. Rigid panels have high insulation in thin layers, helping upgrades meet energy goals without big design changes.
Protective Coatings and Membranes
Polyurethane coatings protect concrete, steel, and wood from wear, sunlight, and moisture. They stay flexible even when surfaces expand or move with temperature changes. This helps extend the lifespan of decks, roofs, and other structures.
Adhesives and Sealants
Polyurethane adhesives create strong bonds for materials like panels, stone, wood, and metal. Sealants made from polyurethane keep joints airtight and watertight. These features are important for protecting building exteriors and façades.
Structural Repair and Underpinning
Specialized polyurethane formulas fill voids, stabilize foundations, and strengthen weak soils. These lightweight injections expand to fill gaps and restore strength, making them ideal for structural repair underpinning. They offer a fast and non-invasive alternative to concrete repairs.
Performance Advantages Over Traditional Materials
Polyurethane is stronger, lighter, and more flexible than many older materials. It resists water, chemicals, and damage, making it last longer. Its light weight also makes it easier and faster to install.
Faster Installation and Lower Labor
Polyurethane spray foam and grouts go on quickly and need less work than older materials. This makes building easier and quicker. The saved time also cuts costs and reduces delays.
Lifecycle Cost Savings
Better insulation and strong coatings help lower energy use and reduce maintenance needs. These features keep buildings efficient and long-lasting. Over time, the savings can be greater than the initial material cost.
Design Flexibility
Polyurethane’s formula can be changed to make it flexible, strong, or fire-resistant. This customization helps meet different project needs. It also removes the need for using many separate materials.
Environmental and Sustainability Considerations
Polyurethane manufacturers are enhancing sustainability by reducing waste and energy consumption. Better insulation cuts energy use for heating and cooling, lowering carbon emissions over time. This makes polyurethane a practical and eco-friendly choice for modern construction.
Its durability also helps the environment by reducing replacements and material waste. Long-lasting products use fewer resources and keep maintenance costs low. This balance of strength and efficiency supports sustainable building design.
Many new formulations now use recycled or bio-based materials to lower fossil fuel use. While not all products are fully recyclable, some can be reused or processed for energy recovery. Responsible use and disposal make polyurethane both high-performing and environmentally smart.
Design and Installation Best Practices
Selecting the appropriate polyurethane mix is crucial for achieving strong and safe outcomes. Work with reliable suppliers to match strength, flexibility, and fire resistance to your project needs. The right formulation helps materials perform well and last longer.
Clean and prepare surfaces before applying coatings or adhesives to ensure a solid bond. Use the right primer and keep areas dry to prevent peeling or early failure. Good preparation protects both looks and structure.
Control expansion when using foams or injection systems to avoid pressure damage. Hire certified applicators who can manage curing and temperature conditions. Always follow fire and safety standards, using proper ventilation and PPE during work.
Risks and Limitations
Some polyurethane breaks down in UV light, so choose UV-stable systems or add a protective topcoat. Inspect surfaces regularly and recoat as needed to avoid costly repairs. Planning for exterior exposure during design prevents surprises later.
Humidity and temperature affect curing, so control site conditions whenever possible. Hire experienced applicators who monitor and adapt methods on-site. Proper on-site practices prevent weak bonds, shrinkage, and uneven foam.
Recycling is limited, so choose products with recycled materials or take-back programs. Factor end-of-life handling into product selection to lower embodied carbon. Put maintenance and disposal requirements into project specifications to reduce long-term risk.
Construction Materials: Make Buildings Last with Polyurethane
Polyurethane cuts costs, speeds work, and extends service life. It seals, insulates, bonds, and repairs in fewer steps, so projects finish faster and need less maintenance. Choose the right mix and expert installer for durable roofs, tight seals, and strong foundations.
Consult a polyurethane expert for a custom plan and hire certified installers for safe, quality work. Use Structural repair underpinning to guide specs and contractor choice. Read our blog for product notes, case studies, and practical tips.
How to Identify When Your Driveway or Road Needs Professional Care
Posted on October 30, 2025 by Logo Design Tips and Tricks

Have you noticed cracks or uneven surfaces on your driveway or road lately? These small issues might seem harmless, but they could signal deeper problems beneath the surface. Over time, weather, traffic, and neglect wear down even the strongest pavement.
Ignoring these early warning signs often leads to costly repairs later. Knowing when to call in professionals can save both time and money. Proper maintenance keeps your property looking clean and safe.
This post will show you exactly how to spot when your driveway or road needs expert attention. Read on!
Cracks That Keep Getting Bigger
Cracks are one of the first signs that your driveway or road needs help. Small surface cracks can expand rapidly in response to changes in temperature and moisture. If they widen or branch out, the foundation underneath may be failing.
Filling small cracks early prevents water from seeping in and causing more damage. When cracks become large or uneven, professional repair is the safest and most effective choice.
Potholes Forming in the Surface
Potholes usually appear after long periods of rain, snow, or heavy use. They start when water seeps into small cracks and freezes, pushing the asphalt apart. These holes can damage vehicles and pose safety risks to pedestrians.
Patching them on your own may not last long, especially if the base is weak. Experienced contractors can rebuild the affected area and restore a smooth, durable surface.
Faded or Discolored Pavement
Fading color on asphalt is a sign of oxidation and sun damage. Over time, sunlight and weather break down the binding oils in the pavement. When this happens, the surface becomes dry, brittle, and prone to cracking.
Regular sealcoating protects the asphalt and brings back its rich black color. For homeowners seeking reliable asphalt paving in Columbus, Ohio, working with professionals ensures lasting protection against fading and wear.
Standing Water After Rain
Puddles that linger after rain indicate poor drainage or low spots in the surface. Water that doesn’t drain properly can weaken the pavement and lead to cracks or potholes.
Fixing drainage issues early prevents more serious structural problems later. A professional inspection can identify where the grading or slope needs adjustment.
Uneven or Rough Texture
If your driveway or road feels bumpy or uneven when driving, it’s time to take notice. These rough spots often result from heavy use, settling soil, or aging materials.
Over time, the surface loses its smoothness and becomes difficult to maintain. Professionals can resurface or repave the area for a cleaner, more stable finish. Keeping the surface level not only improves appearance but also extends its life.
Loose Gravel or Crumbling Edges
When edges begin to crumble or loose gravel appears, it’s a clear sign of wear. This usually happens when the binding material weakens due to weather or neglect.
The edges of a driveway or road are especially vulnerable to erosion. Leaving them unattended allows the damage to spread inward. Regular edge sealing and professional touch-ups can stop the problem before it worsens.
Signs Your Driveway or Road Needs Professional Care
A strong, well-kept driveway or road reflects the care and pride of its owner. Cracks, potholes, fading, puddles, rough patches, and crumbling edges are all signals that maintenance is overdue. Addressing these problems early keeps your pavement durable and appealing.
Professional attention ensures long-term strength, better drainage, and a safer surface for daily use. When in doubt, a skilled paving contractor can assess your needs and recommend the best solution.
Did you like this guide? Great! Please browse our website for more!
How to Choose Trusted Care Professionals for Your Loved Ones
Posted on October 30, 2025 by Logo Design Tips and Tricks

Choosing care for a loved one is one of the most important decisions you can make. Whether it’s for an elderly family member or someone with special needs, you want to be sure they are safe, supported, and happy.
The process can feel overwhelming, but knowing what to look for in a care professional can make the journey smoother and less stressful. Follow along to uncover the details that matter.
What to Look for in a Trusted Caregiver
Trusted caregivers are more than just someone who shows up on time. They are people who bring skill, kindness, and patience to their work.
One of the first things to look for is proper training. A caregiver with the right certifications and past experience is more likely to provide high-quality support.
But even with training, personality matters. A caregiver should show compassion and truly care about the well-being of others. Empathy allows one to understand and respond to the feelings of the person they are caring for.
Caregivers must also be able to talk with both the person receiving care and their family. They should listen well and be open to feedback. This helps build trust and avoids misunderstandings.
Flexibility is also key. Each person has different needs, and a good caregiver should be able to adjust their care approach to match. This means being ready to change routines, respond to new health needs, or shift how they give support.
Finally, trustworthiness is essential. Always take time to check references and background information. You are placing your loved one in someone else’s care, and you need to feel confident they are in safe hands.
Asking the Right Questions
Talking to potential caregivers helps you understand if they are the right fit. This step is more than just reviewing a resume. It’s about learning how they handle real-life situations and what kind of support they offer.
You can ask about their experience with people who have similar needs to your loved one. It’s also helpful to know how they respond to emergencies or sudden changes. You might want to hear how they stay up to date with caregiving skills or whether they offer flexible schedules.
Making Sure It’s a Good Match
Even if someone seems perfect on paper, how they connect with your loved one matters just as much. A trial period can be a great way to test this. Let them spend some time together to see if they are comfortable with one another.
Shared interests and personalities can help build a strong bond. When the match is good, daily care becomes more positive and less of a chore.
Supporting Your Loved One with Confidence
The goal is always to make sure your loved one is cared for with respect and kindness. Taking the time to find the right person makes a big difference in their daily life. It’s also important to include your loved one in the decision whenever possible.
This gives them a sense of control and helps them feel more comfortable with the change. Begin your search for the right care and find a solution that brings comfort and peace of mind. For more on this topic, visit the rest of our blog!
Fast Home Cooling Fixes: When to Call an Air Conditioning Expert
Posted on October 30, 2025 by Logo Design Tips and Tricks
When summer temperatures climb, your home should be a cool escape. But when your air conditioning system starts acting up, that comfort can quickly fade. It’s surprising to learn that many homeowners deal with air conditioning issues at some point.
Knowing when to try simple fixes and when to call a professional is key to keeping your home cool and your AC in good shape. Find out more as you continue reading.
Signs Your AC Needs Attention
Understanding the warning signs of a struggling air conditioning system is the first step to keeping your home comfortable. One clear sign is when the unit blows warm air instead of cool. This often points to a problem with the refrigerant or compressor.
You may also hear strange noises like banging or grinding when the system turns on or runs. These sounds can signal mechanical problems that need a professional’s touch.
Another common problem is high humidity inside your home. If the air feels sticky or damp, your AC may not be working as it should.
Short cycling is also a sign of trouble. If your system turns on and off too often, it might be overheating or facing another internal issue. Any of these signs suggests it’s time to take action before the problem grows.
Simple Fixes You Can Try First
Start with your thermostat. Make sure it’s set to cooling mode and is working properly. Sometimes a simple reset can get the system running again.
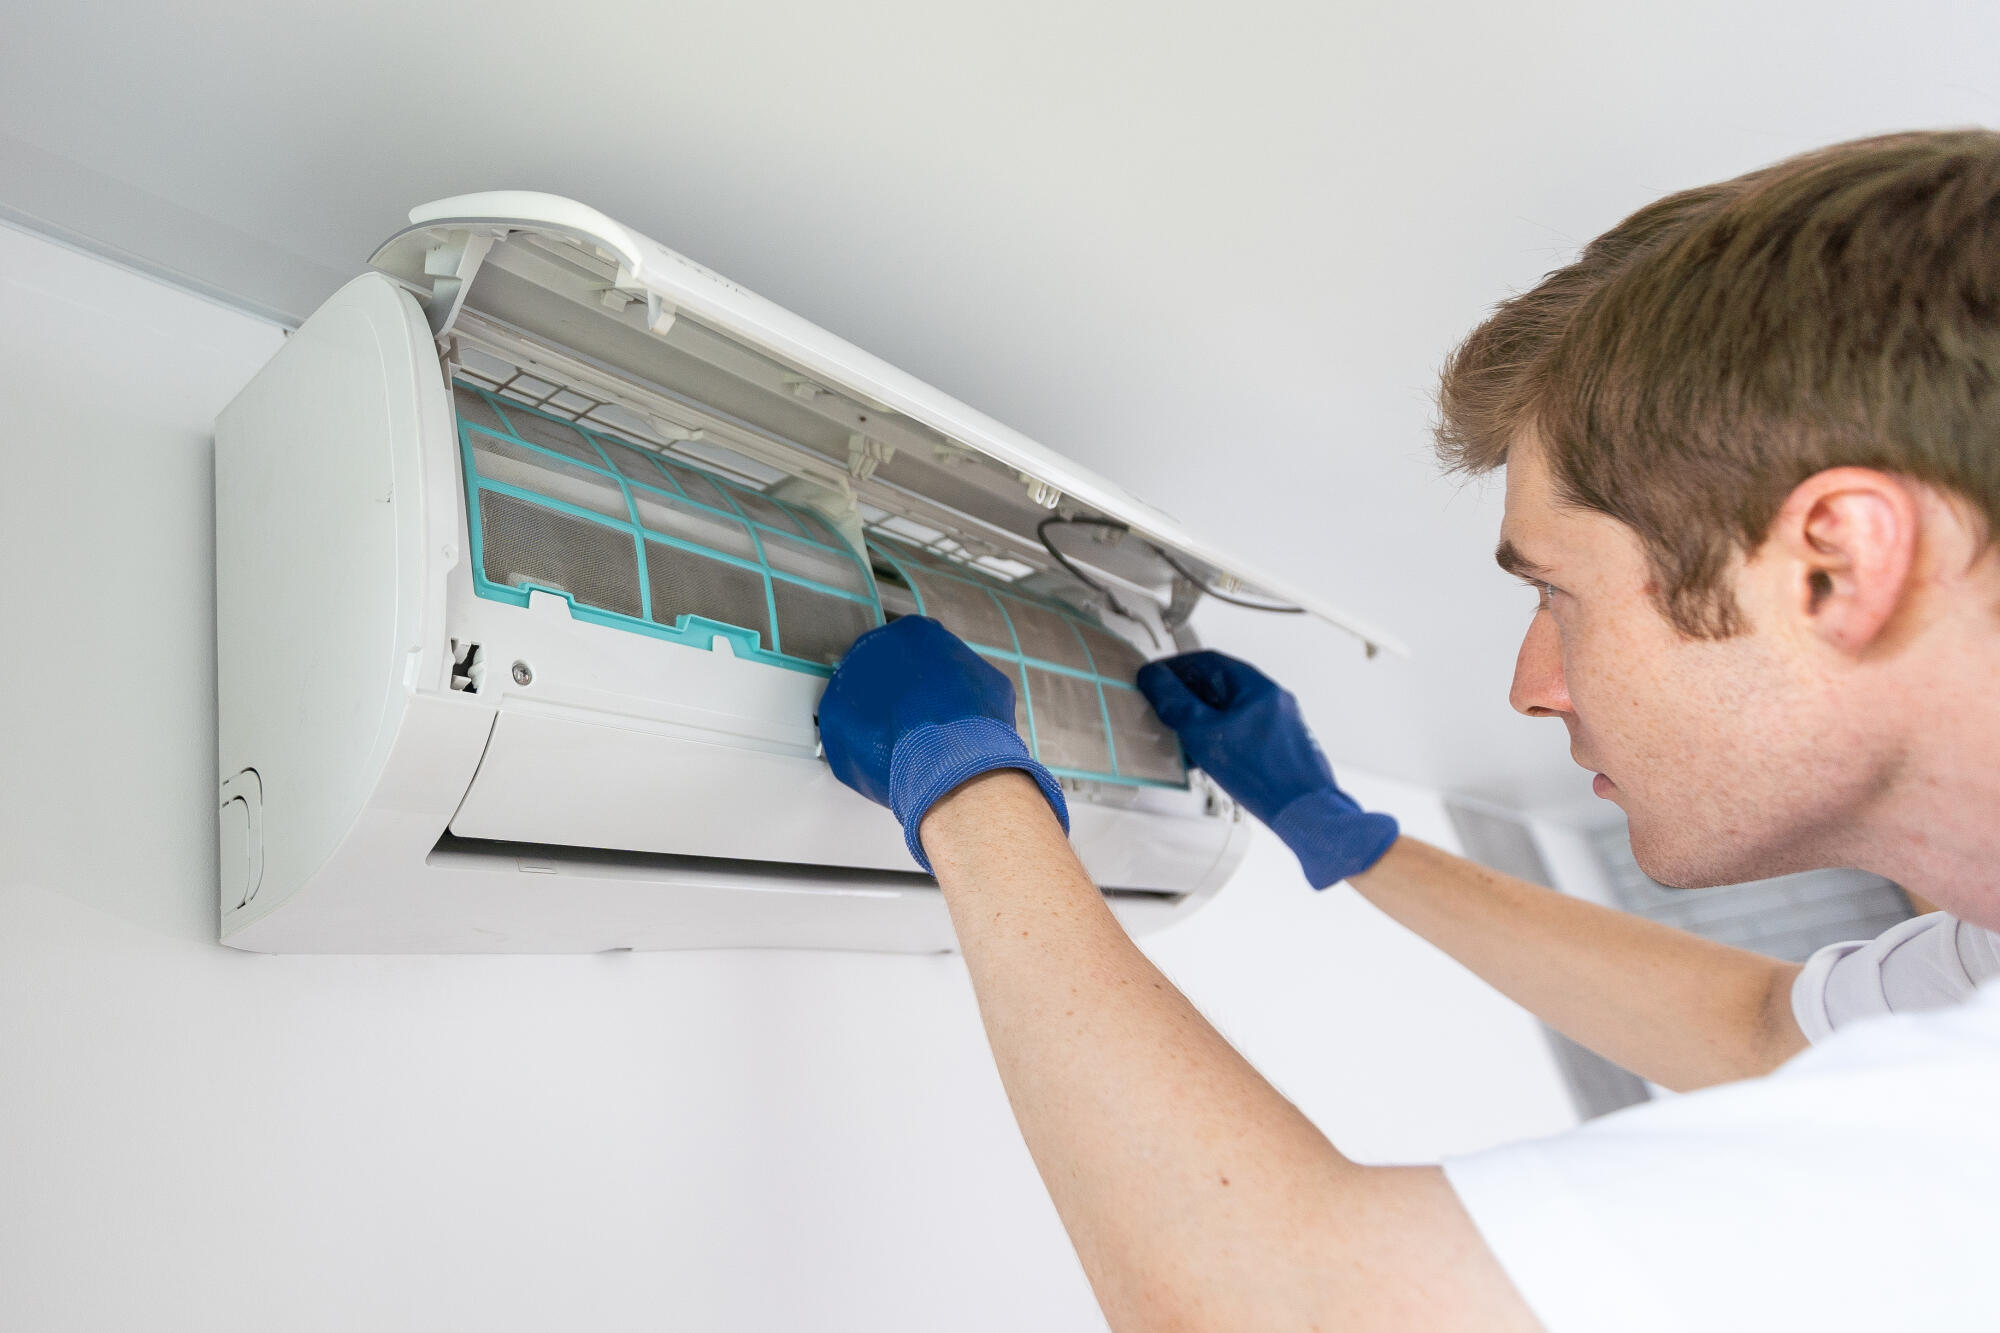
Next, check your air filter. If it’s clogged with dust and dirt, it can block airflow and reduce the unit’s cooling power. Changing or cleaning the filter may bring quick results.
Go outside and inspect the condenser unit. Clear away leaves, dirt, or other debris that might be blocking the airflow. Good circulation around the outdoor unit helps it run more efficiently.
You can also examine any visible ducts in your home. If you spot a leak or loose connection, cool air could be escaping before it reaches your rooms. Sealing those areas can improve cooling without needing a technician.
When It’s Time to Call a Professional
If your efforts don’t solve the issue, it’s time to bring in an HVAC expert. When warm air continues to blow even after basic troubleshooting, something deeper may be wrong with the system.
Loud or unusual noises that don’t stop after cleaning or checking filters should also be examined by a professional. They may be caused by worn or broken parts.
If you see water pooling around your unit, it could mean a leak. If left untreated, this can lead to water damage and even mold.
Another concern is uneven cooling. If one room is cold and another feels warm, your ductwork might need repairs or adjustments. A technician can find the source and provide the right air conditioning repair to restore balance and comfort.
Getting help at the right time can protect your system from more damage and save you from bigger repair costs in the future.
Take Control of Your Comfort
Nobody wants to deal with a broken air conditioner during a heatwave. If your system shows signs of trouble and basic fixes don’t solve the problem, don’t wait. Call a trusted HVAC technician and get your home back to a cool, relaxing space.
Acting now means fewer surprises, lower costs, and peace of mind for the rest of the summer. There’s so much more to discover! Head over to our blog for all the details.