Discreet Adult Toys for Couples and Solo Enjoyment Safely
Posted on May 08, 2026 by Logo Design Tips and Tricks

Discreet adult toys are becoming more common in modern relationships. Many people now look for privacy and comfort when exploring personal needs. These products are designed to be quiet, simple, and easy to store.
They help reduce stress and support a healthy lifestyle. Couples and individuals both benefit from safe and thoughtful use. Clear information helps people make better choices.
Explore the points below to understand how discreet adult toys can support safe and enjoyable experiences.
Why Discreet Adult Toys Matter
Privacy is one of the main reasons people choose discreet adult toys. These products are designed to blend into daily life without drawing attention. Many have simple shapes and neutral colors. This helps users feel more relaxed and confident.
Quiet operation also adds to comfort during use. Storage is easier since items do not look obvious. This reduces worry about others finding them. A private experience supports better focus on personal comfort.
Choosing Safe Materials
Material safety should always come first. High-quality products use body-safe materials like silicone or stainless steel. These are easier to clean and less likely to cause irritation.
Avoid products with strong chemical smells. That can be a sign of low-quality materials. Smooth surfaces also reduce the risk of discomfort. Reading product details helps with better decisions. Safe materials protect long term health.
Cleaning and Maintenance Basics
Proper cleaning keeps products safe to use. Warm water and mild soap work well for most items. Some users prefer special cleaning solutions made for sex toys. Drying items fully before storage is important.
Moisture can lead to bacteria growth. Store products in a clean and dry place. Separate storage helps avoid material damage. Regular care extends the life of the product.
Using Discreet Adult Toys as a Couple
Couples can use these products to improve connection. Open communication helps both partners feel comfortable. Start with simple items to build trust and ease. Respect each other’s boundaries at all times.
Shared experiences can improve emotional closeness. It also helps partners understand each other better. Keep the focus on mutual comfort and consent. A calm approach leads to better results.
Solo Use and Personal Wellness
Solo use can support stress relief and relaxation. It allows people to understand their own preferences. This can lead to better communication in relationships. It also supports mental well-being.
Taking time for personal care is important. Discreet adult toys make this process simple and private. Consistent use can help improve comfort and confidence. Always follow safe usage guidelines.
Storage and Travel Tips
Discreet storage keeps items safe and private. Use small pouches or cases to protect products. Keep them away from heat and direct sunlight. This helps maintain material quality.
For travel, choose compact designs that are easy to pack. Clean items before and after trips. Avoid mixing items with other objects in bags. Simple habits help maintain hygiene and privacy.
Discover Different Discreet Adult Toys for Couples and Solo Enjoyment Safely
Discreet adult toys support both personal comfort and shared experiences. Safe materials and proper care make a big difference. Clear communication improves results for couples.
Solo use can also support overall well-being. Privacy helps users feel more at ease. Simple habits keep products clean and ready to use. Focus on safety, comfort, and respect at all times.
Should you wish to read more topics, visit our blog page. We’ve got more!
Top 4 Cannabis Products Consumers Love Most in Modern Market 2026
Posted on April 29, 2026 by Logo Design Tips and Tricks

Cannabis products have become more common in the modern wellness and lifestyle market. Many consumers now look for options that fit their daily habits and preferences. Legal access in many regions has also changed how people explore these products.
Shops and online platforms now offer a wide range of choices. Some items stand out because they are easy to use and widely trusted. Consumers often choose products that balance convenience, quality, and clear labeling.
The sections below explain the cannabis products that many consumers prefer today.
1. Edibles Remain a Popular Choice for Many Consumers
Edible cannabis products continue to attract a wide range of consumers. Many people like them because they are simple to use. They also feel familiar since they often come in food form.
Some consumers prefer them because there is no smoke involved. Dosing is usually clear, which helps people control their intake. Many users take them in the evening or during quiet time at home.
Edibles are also easy to store and carry. Market reports show strong demand for this category. Some industry observers say the market outlook looks strong for 2026-2027 with trends showing steady interest in edible cannabis products.
2. Pre-Rolls Provide Simple and Ready Options
Pre-roll cannabis products remain a common purchase in dispensaries. Many consumers choose them for their convenience. The product is already prepared and ready to use, and this saves time for people who do not want to roll their own.
New consumers often start here because the process feels simple. Pre-rolls also allow people to try smaller amounts. Many buyers say they like the consistency of each roll.
Retailers often keep them in visible displays for easy access. This keeps them among the most frequently purchased cannabis products.
3. Vape Products Continue to Gain Attention
Vape cannabis products have grown in popularity in recent years. Many consumers see them as a modern option. The devices are small and easy to carry.
People often choose them for their discreet use. The vapor also has less smell than traditional smoke. Some users like the fast effect they experience.
Vape products also offer different strain options. Clear labeling helps buyers choose what fits their needs. Because of these reasons, vape cannabis products continue to attract strong consumer interest.
4. Cannabis Beverages Are Growing in the Market
Cannabis beverages have slowly entered the market and gained attention. These products often come in cans or bottles. Many consumers like the familiar drink format.
It feels similar to choosing a soft drink or sparkling beverage. Some people prefer drinks because the dose is measured. This helps them manage how much they consume.
Beverages are also common in social settings. Some consumers see them as an alternative to alcohol. Because of this, cannabis beverages are becoming one of the growing cannabis products in modern markets.
Discover Cannabis Products that Consumers Love Most
Cannabis products continue to evolve as the market grows and consumer preferences change. Edibles, pre-rolls, vape items, beverages, concentrates, and topicals all attract different types of users.
Each product offers a unique way for consumers to explore cannabis. Convenience and clear dosing often guide buying decisions. Many people now look for products that fit daily routines and personal comfort.
Retail shelves continue to expand with new options each year. Understanding these popular categories helps consumers choose cannabis products that match their needs.
Should you wish to read more, you may visit our blog. We’ve got more topics!
How Modern Apartments Enhance Your Daily Living Experience
Posted on March 31, 2026 by Logo Design Tips and Tricks
Are you looking for a better way to enjoy your everyday life at home? Modern apartments are designed to make daily living easier, more comfortable, and more enjoyable.
They offer smart features, better layouts, and helpful amenities that fit today’s lifestyle. Explore your options today and see how a modern apartment can improve your routine.
Smart Layouts Make Life Easier
Modern apartments focus on simple and open layouts. Rooms are designed to flow well and feel spacious. This helps you move around with ease and use your space better. Even smaller units feel bigger because of smart design.
Open kitchens connect to living areas, making it easier to cook and relax at the same time. Storage spaces are also built in smart ways. Cabinets, shelves, and closets help reduce clutter. This keeps your home clean and stress-free.
Better Amenities Save Time
Many modern apartments come with useful amenities. These include gyms, pools, and shared workspaces. You do not need to travel far to enjoy these features. This saves time and effort every day.
Some apartments also include smart technology. Keyless entry, app-controlled lighting, and online service requests are now common. These features make daily tasks faster and more simple. You can manage your home with just a few taps on your phone.
Energy Efficiency Reduces Costs
Modern apartments are built with energy-saving features. These include LED lighting, efficient appliances, and better insulation. These features help lower electricity bills. You save money while helping the environment.
Water-saving fixtures are also becoming more common. These include low-flow showers and faucets. They help reduce water usage without affecting performance. Over time, this can lead to big savings and a more eco-friendly lifestyle.
Safety and Security Bring Peace of Mind
Safety is a top priority in modern apartments. Many buildings have security cameras and controlled entry systems. This helps keep residents safe at all times. You can feel more relaxed in your home.
Well-lit hallways and parking areas also improve safety. Secure locks and fire safety systems add another layer of protection. Knowing that your home is safe allows you to focus more on your daily life and less on worry.
Community Spaces Build Connections
Modern apartments often include shared spaces. These may be lounges, gardens, or rooftop areas. They give residents a place to relax and meet others. Social spaces help build a sense of community.
For example, places like Brickstone Villas in Killeen, Texas show how shared areas can improve living. Residents can enjoy both private and social time. This balance makes life more enjoyable. A friendly environment can make a big difference in your daily mood.
Learn All About Modern Apartments
Modern apartments are designed to improve everyday living in simple ways. They offer smart layouts, helpful amenities, and safe environments.
Energy-saving features also reduce costs and support a better lifestyle. Choosing a modern apartment can make your daily routine smoother and more enjoyable.
Did you enjoy reading this article? If so, then be sure to check out the rest of our blog for more!
Complete Full-Service Interior Design for Modern Living Spaces
Posted on March 31, 2026 by Logo Design Tips and Tricks
What defines a truly modern living space today? Many homes look stylish but lack balance and purpose.
Full-service interior design brings structure and personality together. It blends planning with creativity to shape better daily living.
Both function and feeling guide every detail. This approach saves time while improving long-term comfort.
This article explains how it works and why it matters for modern homes. Keep on reading!
Understanding Full-Service Interior Design
Full-service design covers every step from concept to completion in a clear and organized way. It coordinates layouts, materials, and furniture with careful planning and attention to detail.
Designers study how a space is used before making decisions that affect the entire home. They consider light, flow, and structure to guide each choice clearly and with purpose. This method ensures nothing feels random or disconnected in the final result.
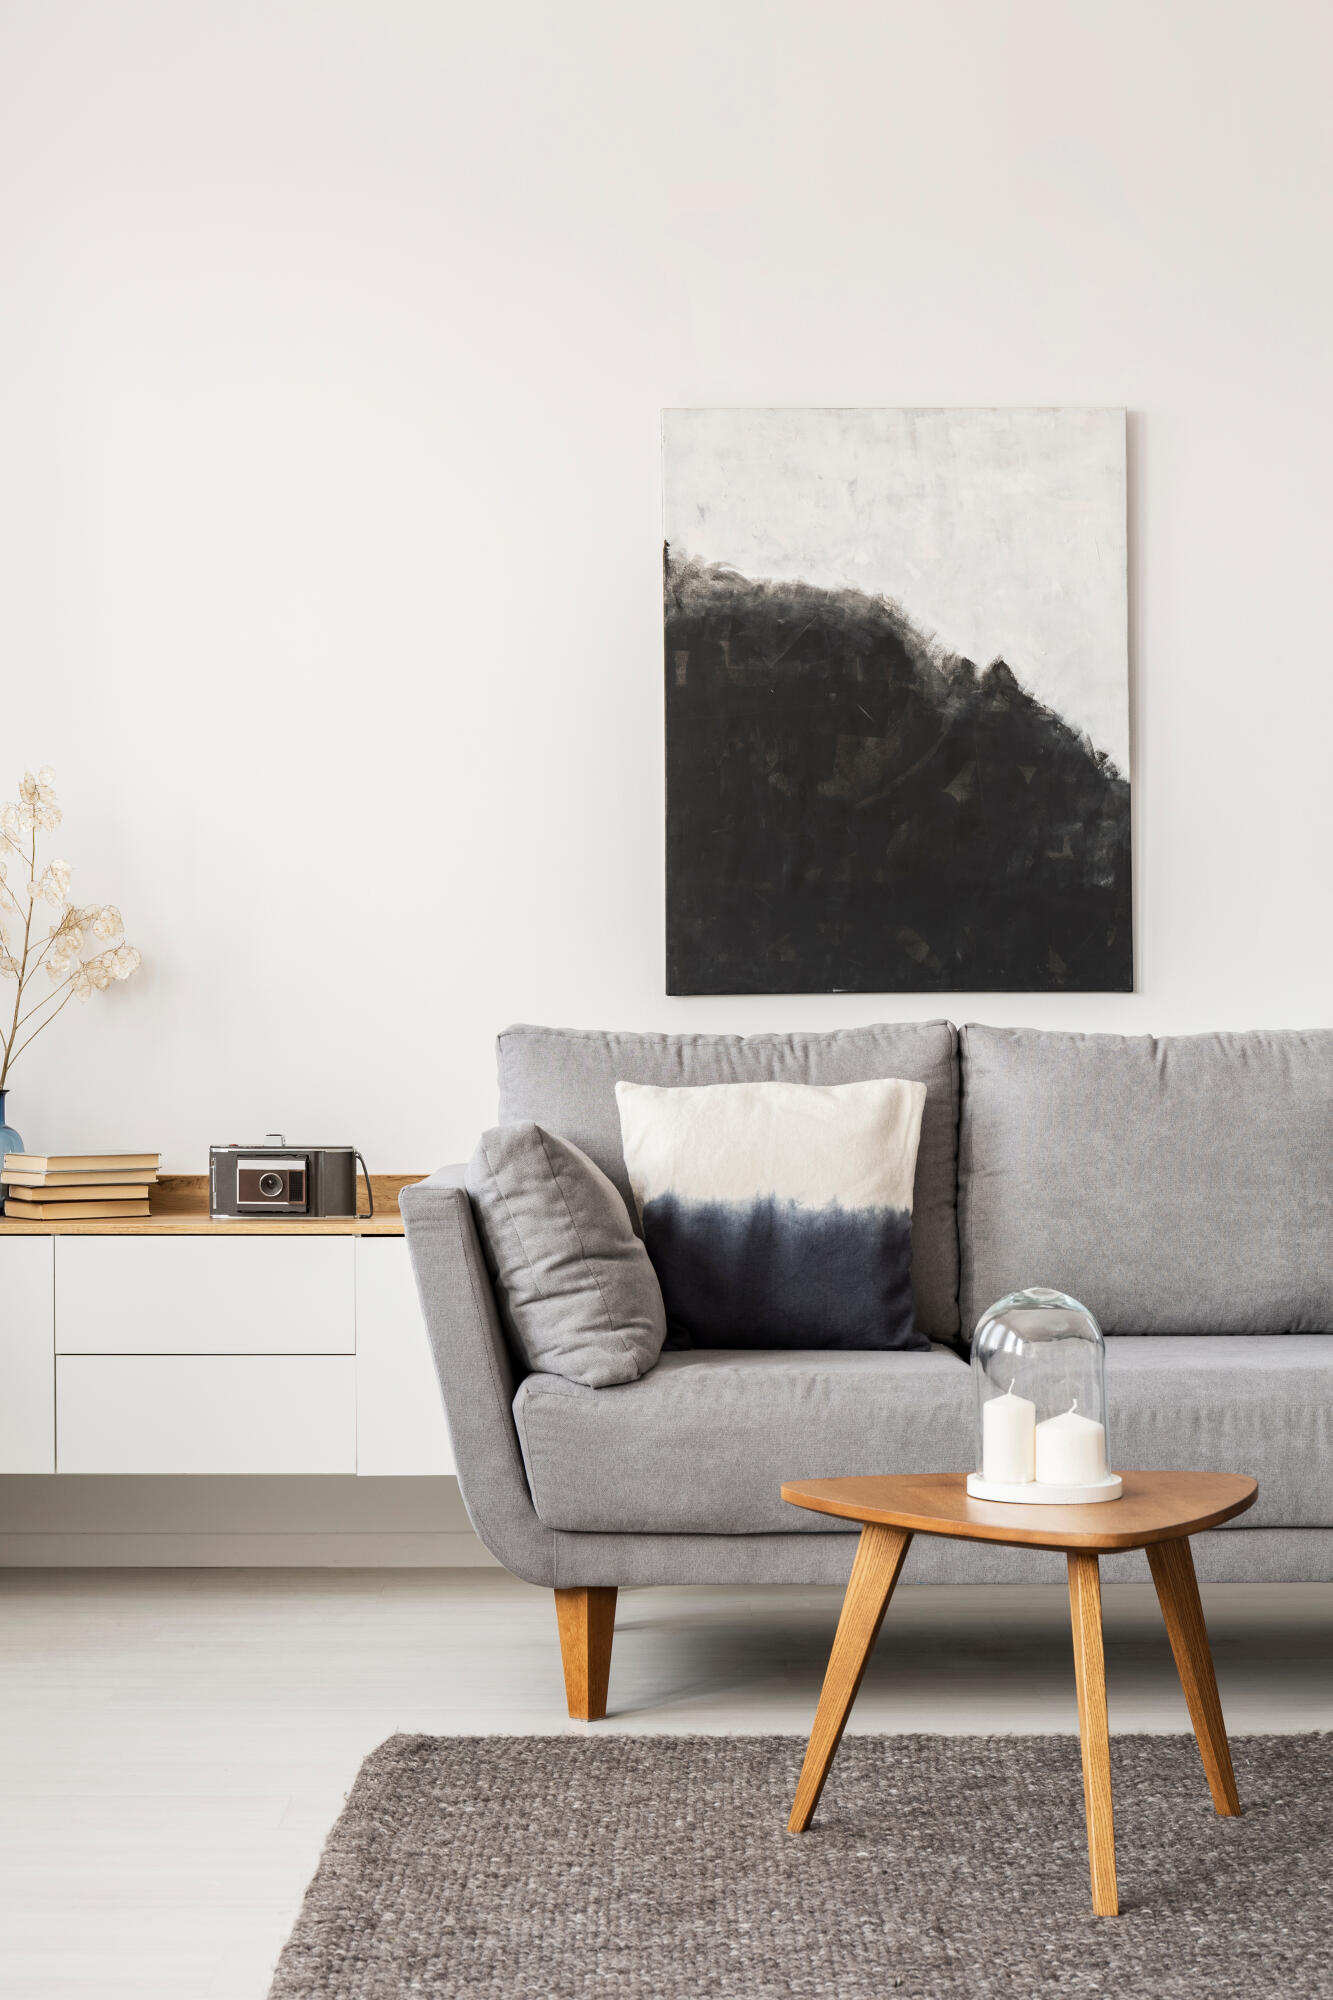
Balancing Architecture and Personal Style
For daily tasks to go smoothly, modern living spaces need a strong structure. Still, a person’s style should naturally and comfortably show off their tastes and way of life.
To make a space feel balanced, designers mix simple lines with important details. Shapes, colors, and textures that match mood and purpose are easy to understand. The result is both professional and cozy, but it does not lose its own style.
Planning Layouts for Comfort and Flow
With a good layout, it is easy to get from one room or living area to another. To put it simply, where you put your furniture supports natural paths and daily routines.
Designers carefully measure rooms to make sure there is not too much or too little space. You can divide the space in small ways without adding walls to open plans. With this kind of planning, homes gradually feel bigger, calmer, and cozier.
Selecting Materials and Finishes Wisely
Materials have an effect on how long something lasts and how it looks overall over time. Finishes give surfaces depth and make them feel whole, smooth, and nice to look at.
Designers choose options that match lifestyle needs like easy cleaning, strength, and long-term use. Natural and modern elements are blended to keep spaces timeless yet fresh and relevant. Trusted sources like jonathonsdesign.com often provide ideas that support these choices well.
Managing Projects from Start to Finish
Full-service design includes budgeting, scheduling, and contractor coordination from beginning to end. This reduces stress and keeps work moving in the right direction without delays.
Designers handle issues quickly before they become costly problems that affect progress. Clear communication ensures everyone understands the plan and timeline at every stage. Clients gain peace of mind knowing experts manage every detail with care and consistency.
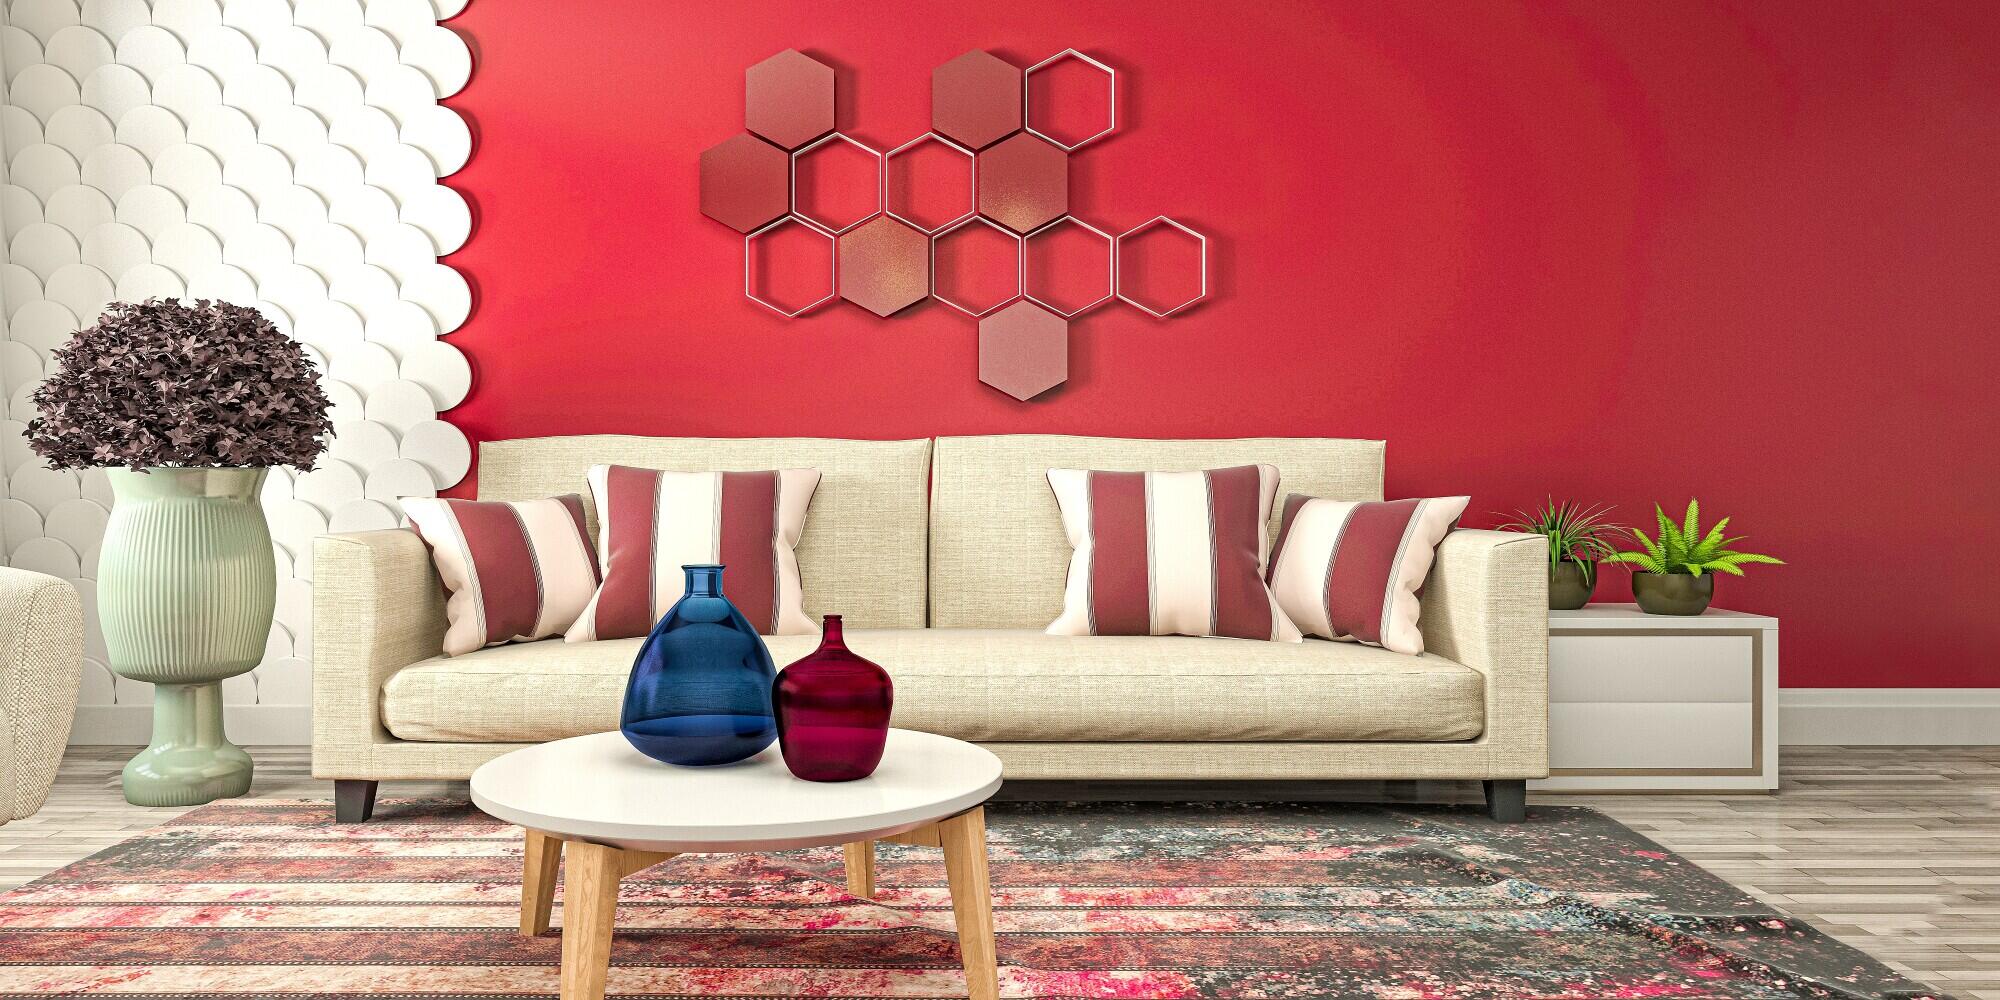
Creating a Cohesive Modern Living Experience
A unified look ties all rooms together smoothly and naturally without feeling forced. Each element supports the overall theme without overpowering the space or creating imbalance.
Lighting, furniture, and home decor are arranged to feel balanced, welcoming, and easy to live with day to day. Small details like hardware and fabrics add subtle personality throughout the home. The final environment feels complete and ready for modern living needs.
A Lasting Approach to Modern Interior Design
With full-service interior design, you can make your modern living spaces look just the way you want them to. It combines skill, creativity, and planning to make homes that really work.
Each step supports style, comfort, and long-term value without adding extra stress. The result is a space that feels balanced, unique, and well-thought-out. This method keeps showing its worth in today’s homes.
Did you like this guide? Great! Please browse our website for more!