Why Use an MP4 Converter for Your Video Files
Posted on October 13, 2025 by Logo Design Tips and Tricks

Videos are a big part of our daily lives. We watch, share, and upload videos almost every day. Whether for work, school, or entertainment, video content helps us communicate better.
But sometimes, video files come in formats that are not easy to play on all devices. This is where an MP4 converter becomes useful. Using an MP4 converter makes your videos more flexible, easier to share, and compatible with almost any device or platform.
In this article, we will discuss why using an MP4 converter for your video files is a smart choice.
Compatibility with Different Devices
One of the biggest benefits of using an MP4 converter is compatibility. Not all video formats work on every device. For example, a MOV file might play well on Apple devices but may not work properly on Android or Windows systems.
When you convert your videos to MP4, you make sure they can be played on almost any device – smartphones, tablets, computers, gaming consoles, and even smart TVs. MP4 files also work well on popular media players and video platforms like YouTube, Facebook, and Instagram.
Smaller File Sizes Without Losing Quality
Another great reason to use an MP4 converter is file compression. MP4 files use advanced compression technology that reduces file size while keeping good video quality.
Large video files can take up a lot of storage space and make uploading or sending them difficult. With MP4, you can store more videos on your phone, computer, or cloud storage without using too much space.
Even better, MP4 files maintain clear images and sound, even after compression. You get a smaller file that still looks and sounds great – a perfect balance for both personal and professional use.
Easy to Share and Upload
Sharing videos online is much easier when they are in MP4 format. Social media sites, email services, and messaging apps all accept MP4 because it’s lightweight and quick to upload.
If you need to send a video to a friend, client, or teacher, using an MP4 file saves time. You won’t need to wait long for it to upload, and the receiver won’t struggle to open it.
For content creators, MP4 makes life even simpler. Whether you are posting on YouTube, TikTok, or Instagram, these platforms prefer MP4 for smooth uploading and playback. You can spend more time creating and less time dealing with format problems.
Better Streaming and Playback Experience
Streaming videos online requires a format that balances quality and performance. MP4 is designed exactly for that. It plays smoothly even on slower internet connections because of its efficient compression.
If your videos are in a format that’s too large or not optimized, they might buffer or lag during playback. By converting your videos to MP4, you ensure that they stream seamlessly across all devices and platforms.
For example, many online classes, webinars, and video tutorials are shared in MP4 because it provides reliable performance. Whether you’re watching on Wi-Fi or mobile data, MP4 gives a consistent viewing experience.
Works with Many Editing Tools
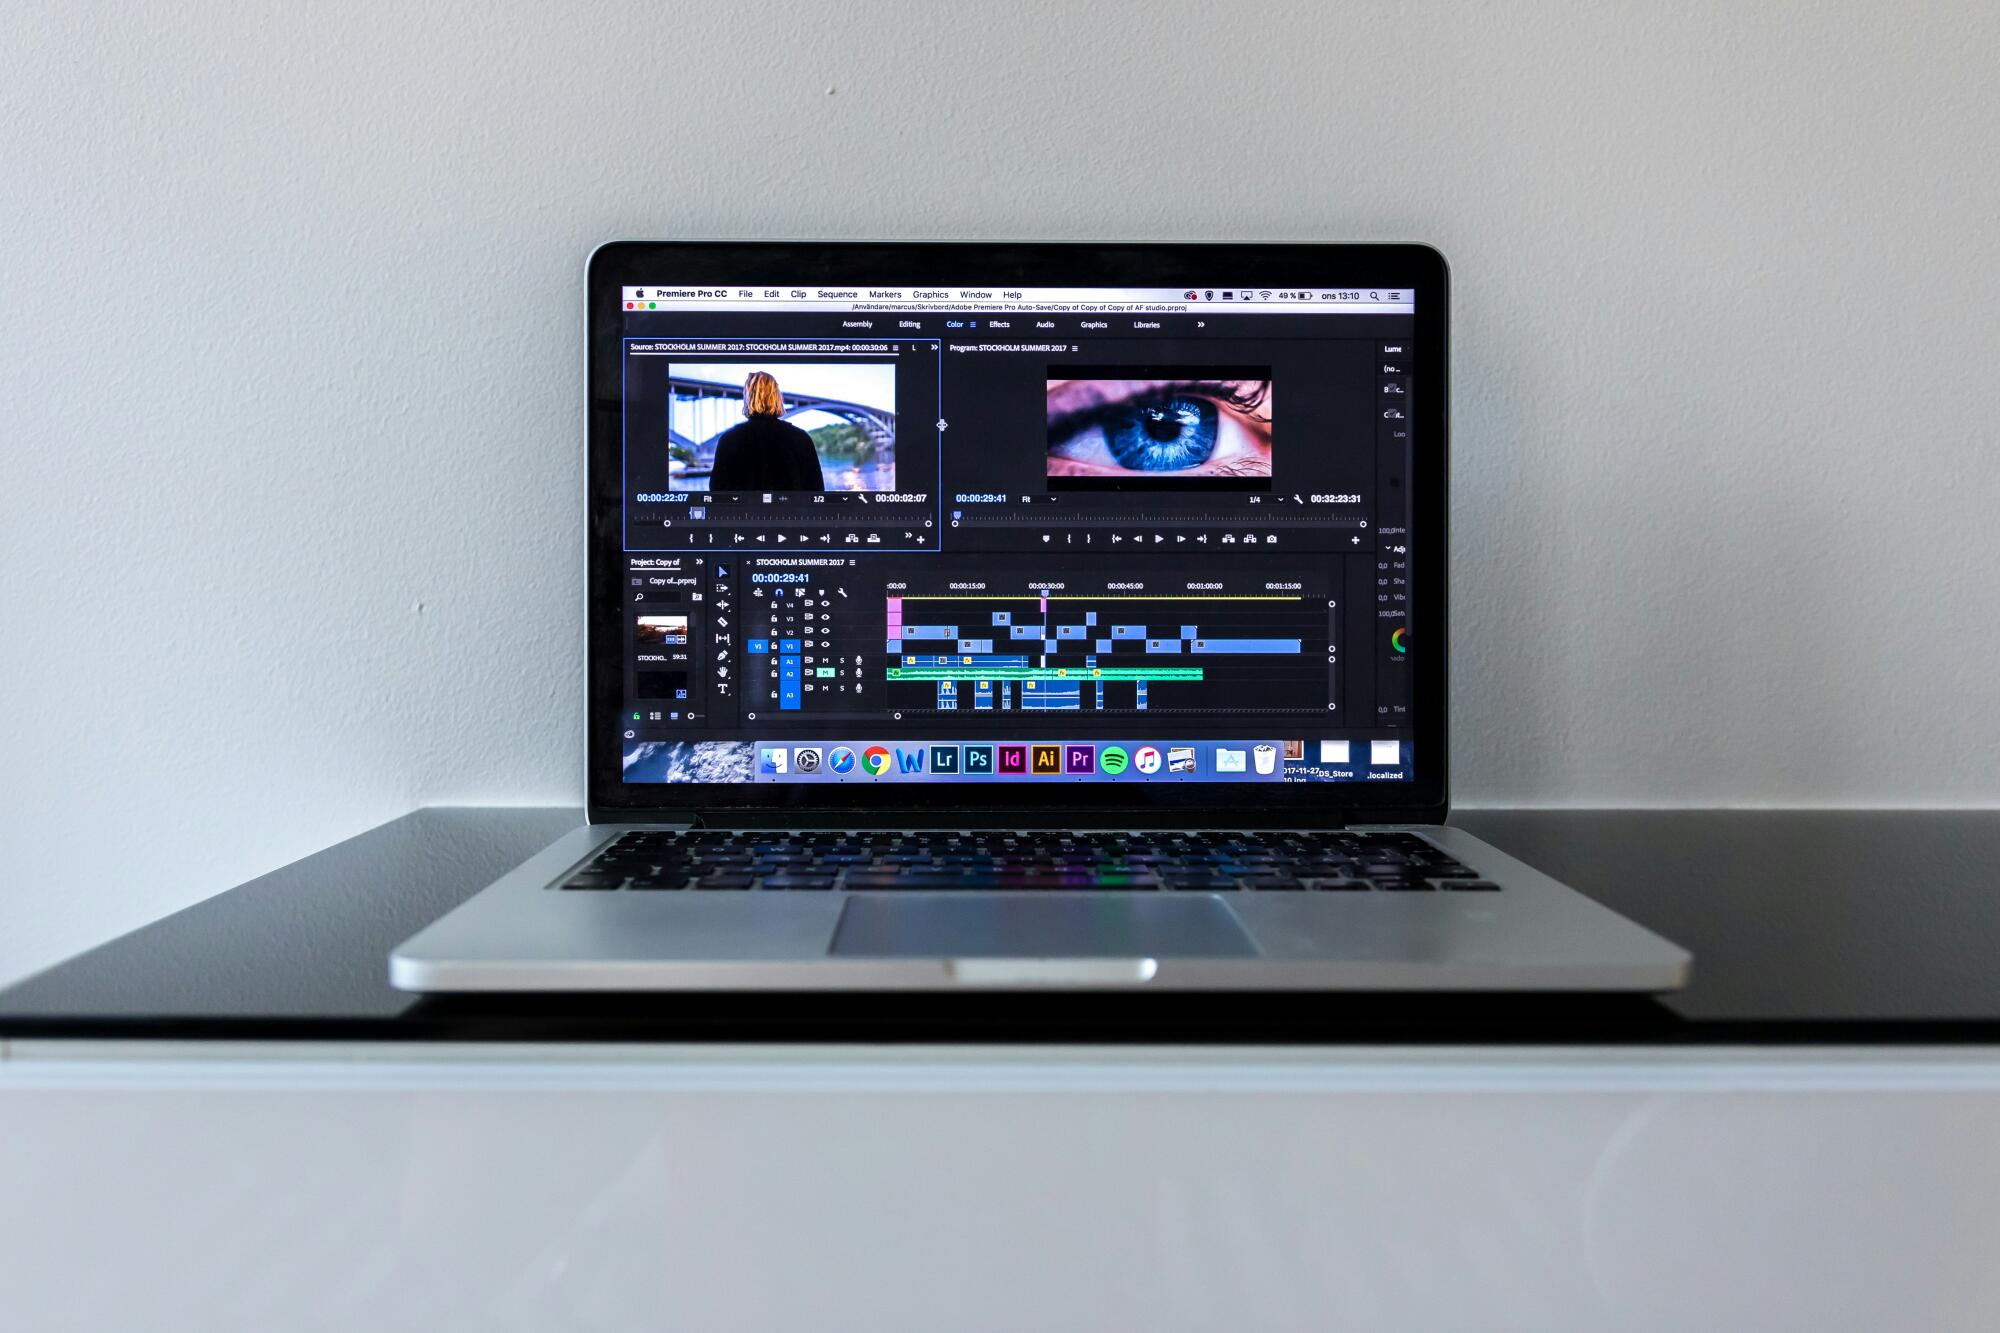
If you edit videos, you know how frustrating it can be when your software doesn’t support a certain format. Many video editing programs like Adobe Premiere, work best with MP4 files.
When your videos are in MP4 format, you can easily cut, merge, or add effects without needing extra conversions. It saves you time and avoids errors that can happen with incompatible files.
For beginners or professionals, MP4 offers flexibility and convenience. You can import your MP4 files into almost any editing software and start working right away.
High Compatibility with Online Platforms
Every major video-sharing website supports MP4 format. Whether you’re uploading to YouTube, Facebook, Vimeo, or Instagram, MP4 is often the recommended or required format.
Other file types may cause uploading errors or may not display properly online. Some platforms even automatically convert videos to MP4 after uploading, which can take time and lower quality.
By converting your files yourself before uploading, you have more control over quality and compression. This helps your videos look their best online. It also speeds up the upload process since your file is already optimized.
Saving Storage Space
Storage space is always valuable, especially on mobile devices. Video files can quickly fill up your phone’s memory or your computer’s hard drive.
Using an MP4 converter helps reduce file size while keeping the same viewing experience. You can store more videos in less space, which is perfect for people who record a lot of content.
This is also helpful for businesses or students who save many videos for work or study. MP4 lets you keep all your media organized without using up too much storage.
Simple to Use and Accessible
You don’t have to be a tech expert to use an MP4 converter. Most converters are user-friendly and easy to navigate. You simply upload your video, choose MP4 as the output format, and click “convert.”
Many online MP4 converters are free and can be accessed through a web browser. Others can be downloaded as desktop software for offline use.
These tools often support batch conversion, allowing you to convert several videos at once. This saves time and makes the process even more convenient.
If you’re interested in converting your own mp4, you can find many reliable converters online that make it fast and effortless.
Long-Term Compatibility and Future Use
MP4 has been around for many years and continues to be the standard video format worldwide. Because it’s so widely used, it’s unlikely to become outdated anytime soon.
By converting your videos to MP4 now, you make sure they remain accessible in the future. You won’t need to worry about finding special players or software later.
This long-term compatibility is especially important for storing family videos, educational content, or business presentations that you may want to keep for years. MP4 ensures your files stay usable no matter how technology changes.
Learn More About an MP4 Converter
Using an MP4 converter for your video files offers many advantages. It makes your videos compatible with all devices, reduces file sizes, and keeps the quality high. You can share, upload, and edit videos more easily, saving time and effort.
MP4 is also the most trusted format for online platforms and media players, making it a safe choice for both personal and professional use. With its balance of quality, convenience, and compatibility, converting your videos to MP4 is one of the smartest things you can do.
If you’d like to learn more, check out more articles on our blog.
How to Trim a Video Online: Fast and Free Methods
Posted on October 06, 2025 by Logo Design Tips and Tricks
Want to quickly cut out the extra parts of a video without installing anything?
Trimming videos online can save lots of time and make your clips look clean and sharp. You don’t need fancy software or a long learning curve.
With the right tools, you can select the parts you want, remove what you don’t, and have a ready-to-share video in minutes. Whether it’s for social media, work, or personal projects, fast and free video trimming is possible for everyone.
Curious how to do it step by step? Let’s dive in.
Choose a Reliable Online Trimmer
Finding the right online tool makes trimming videos fast and easy. Look for a platform that loads quickly, doesn’t require complicated steps, and works directly in your browser. Tools with clear options let you cut unwanted parts without confusion.
Some even let you see your changes in real time, so you know the video looks just right before saving. Avoid platforms with too many extra features that slow down the process.
A smooth, simple interface ensures editing feels simple and stress-free. Choosing the best tool helps finish projects faster and share videos easily. Using a reliable video trimmer to set yourself apart makes all the difference.
Check Supported File Types
Not all video tools handle every type of file. Some only work with MP4, MOV, or AVI, while others support more formats. Trying to upload a file that the tool doesn’t accept can waste time or cause errors.
Checking the file type first ensures the video will load smoothly and the trimming process goes without trouble. It also helps prevent the need for extra conversion steps, keeping the workflow simple and fast.
Knowing which formats are supported makes it easier to plan edits and share the final video. Always confirm compatibility before starting, so the process stays quick and stress-free. This small step helps maintain efficiency in any online video editing task.
Keep the Clip Short
Long videos can be hard to manage and share. Cutting out extra parts makes the clip easier to watch and keeps the main message clear. Shorter clips also upload faster and take less space, which is useful for sending online or posting on social media.
Focus on the parts that matter most and remove anything that slows the story down. Keeping the video concise helps viewers stay interested from start to finish.
It also makes editing simpler, since there’s less to adjust or fix. Small, focused clips often look more professional and polished. Trimming to a short, clear version improves both the viewing experience and the overall impact of the video.
Preview Before Trimming
Watching the video before making cuts helps spot the exact parts to remove. It lets you see where the clip starts to drag or where unnecessary scenes appear. Previewing ensures the flow stays smooth and the important moments remain intact.
This way, edits are more accurate and less likely to leave mistakes. Skipping this step can cause missing key parts or cutting too much by accident. Taking a moment to play through the video first saves time and frustration later.
It also helps plan where the trimming should happen for the best results. A careful preview keeps the video clear, focused, and ready for sharing without extra re-edits or fixes.
Use Simple Drag-And-Drop Controls
Editing a video is much easier with simple drag-and-drop tools. You can move the sliders to pick where the video should start and end. This makes cutting exact and keeps important parts safe.
You can change things in seconds without typing numbers or guessing. Simple tools help avoid mistakes and make editing faster. You can see your changes right away to make sure the video looks smooth.
Using easy drag-and-drop controls keeps the work simple and quick. It helps make a clean video without stress or confusion. Anyone can use it to trim clips fast and make videos ready to share.
Trim in Sections if Needed
Long videos can be hard to trim all at once. Cutting the video into smaller parts makes it easier to manage. You can focus on one section at a time and make sure each part looks right.
This method also helps avoid mistakes, like cutting too much or missing important moments. Working in sections can make the process faster, because the tool does not have to handle the whole video at once.
After all sections are trimmed, they can be joined together into a smooth final video. Breaking the video into pieces keeps editing simple and less confusing. It also makes it easier to fix problems without starting over from the beginning.
Check for Automatic Saving
Losing work while editing a video can be frustrating. Some tools save your progress automatically, so you don’t have to worry about closing the browser or a sudden crash. This feature keeps every cut and change safe as you work.
You can focus on trimming the video without constantly checking if your work is saved. Automatic saving also helps if you need to stop and return later.
Knowing that your edits are stored gives peace of mind and makes the process smoother. It keeps the work safe even if the internet drops or the computer slows down. Using a tool that saves automatically makes editing faster, easier, and less stressful for anyone.
Avoid Adding Extra Effects
Adding extra effects can slow down the video editing process. Simple trimming keeps the work fast and clear. Extra filters, transitions, or text may look nice, but they can make the tool slower or cause mistakes.
Sticking to just cutting the video helps keep the main parts clear and easy to watch. It also reduces the chance of errors, like missing a part or making the file too large. Simple edits are easier to manage and finish quickly.
Focusing on just the video makes sharing easier and keeps the quality good. Avoiding extra effects helps make the process smooth, fast, and stress-free, so the final video is clean and ready for use.
Finish Your Video Quickly and Easily
Trimming videos online is simple and fast when the right steps are followed. By focusing on key parts, using easy tools, and keeping edits clean, you can create clear, shareable clips in minutes.
Small actions, like checking file types or working in sections, make the process smoother and less stressful. Following these methods ensures your videos look polished, professional, and ready to share with anyone.
Did you find this article helpful? You can check out our website for more awesome content like this!
Essential Equipment for Sewing Projects Every Beginner Should Have
Posted on October 06, 2025 by Logo Design Tips and Tricks

If you are ready to step into the creative world of sewing, now is the best time to learn what tools you should bring to your space so each project starts in the right way. Sewing is more than a hobby; it is a way to express yourself. It is a skill that grows with practice and patience.
With the right tools, every project can become a piece you feel proud of. Keep reading to find the items that will help you sew with ease and join a group of makers who share the same love for this craft, building skills, confidence, and joy with every stitch you create.
A Reliable Sewing Machine
The sewing machine is the heart of any sewing room. It is the tool that turns fabric and thread into something new and useful. For beginners, it is best to choose a machine that is simple to use but strong enough to last through many projects.
Most modern machines include built-in stitches, easy threading, and clear controls, which help beginners avoid stress. Husqvarna Viking sewing machines for sale are often a good choice because they blend quality with smart design, giving you both reliability and room to grow as your skills improve.
Sharp Scissors and Cutting Tools
Cutting fabric may look simple, but without the right scissors it can turn messy. Sharp dressmaking shears give smooth, even cuts. Smaller scissors or snips let you trim loose threads with care. For bigger projects or repeated cuts, a rotary cutter with a self-healing mat saves time and helps you avoid errors. Tools that stay sharp and fit well in your hand make sewing much easier.
Measuring and Marking Supplies
Good sewing needs careful measuring. A flexible tape lets you check body sizes or fabric lengths, while a clear ruler works well for straight lines and exact cuts. Marking tools like tailor’s chalk, water pens, or fabric pencils allow you to draw lines that wash away later. These guides prevent mistakes and help your projects fit just right.
Needles, Pins, and Thread
Every sewing kit needs a mix of needles and pins. Machine needles are made for different kinds of fabric, so having a few ready makes it easier to switch when you work on light or heavy cloth.
Pins hold fabric in place while you sew, keeping each part lined up. Strong thread in black, white, and gray will cover most beginner work. As you learn more, you can add colorful or special thread for new designs.
Build a Foundation for Sewing Success
Sewing is more fun when you have the right tools. They take away the hard parts that stop beginners and let your ideas shine. With a strong machine, sharp scissors, measuring supplies, and basics like needles and thread, you build a base that supports every new project.
Starting with these essentials gives you space to focus on learning, trying new skills, and exploring creative designs. With the right setup, your sewing journey will feel simple, rewarding, and full of growth. Keep learning and check out more posts on our blog!
How to Seamlessly Convert MP4 Videos to GIFs Online
Posted on October 02, 2025 by Logo Design Tips and Tricks
GIFs are everywhere today. They make content fun, quick, and easy to share. If you want to turn your videos into GIFs, you don’t need complex tools.
You can simply convert MP4 to GIF online with just a few clicks. This method saves time and works well for social media, blogs, and chats. In this guide, you will learn simple tips. These tips will help you create smooth GIFs that look professional and engaging.
Choose the Right Conversion Tool
The first step is selecting a reliable tool. A good MP4 to GIF converter should be easy to use and offer quick results. Check for reviews and features before deciding.
Many tools are available online for free. Some offer extra features like trimming or adding text. Pick one that matches your needs and budget.
You can enjoy time savings by using a convert MP4 to GIF tool. It simplifies the process for beginners and professionals alike. It is a smart way to create quality GIFs with little effort.
Optimize Video Length
GIFs are short and should not drag on. Keep your video segment under 10 seconds for best results. Shorter clips are easier to watch and share.
Long videos can slow down loading times. They also make the GIF file larger and less smooth. Cutting your video into smaller parts makes it more effective.
When trimming, choose the highlight moment. Focus on the action or message you want to show. This ensures your GIF stays engaging.
Focus on Quality Settings
High-quality GIFs look more professional. When converting, adjust the resolution and frame rate to balance size and clarity. Too high a resolution can make files too large.
Lowering frame rates may reduce file size but hurt quality. Aim for settings that keep the GIF sharp while loading fast. Experiment to find the right mix.
Remember that not all platforms support large files. Keeping quality balanced helps your GIFs display well everywhere. This creates a better viewer experience.
Crop and Resize Before Converting
Not all parts of a video are needed. Crop out extra areas to highlight your subject. This makes your GIF more focused and cleaner.
Resizing is also important. Smaller dimensions load faster and work better across devices. Keep in mind the platform where you plan to use the GIF.
Cropping and resizing reduce file size without losing impact. They also remove distractions from the frame. This ensures your GIF stays clear and engaging.
Use Color Wisely
Colors can change how your GIF feels. Bright colors grab attention, while muted tones create calm. Choose colors that match your message.
Too many colors can make your GIF look messy. Reducing the color palette also keeps the file smaller. This helps your GIF load faster.
When editing, preview how colors appear on different screens. Some shades may look different on mobile or desktop. Balanced colors make your GIF stand out.
Add Text or Captions
Adding text makes GIFs more informative. You can highlight key points, add humor, or explain context. Captions also help people who watch without sound.
Choose simple fonts that are easy to read. Make sure the text is not too long or distracting. Keep it short and relevant to the clip.
Text placement matters. Avoid covering important visuals. Place it in an area that blends with the video.
Control the Speed
GIF speed changes the mood of your content. Faster speeds can create excitement. Slower speeds can highlight detail or emotion.
Most tools allow you to control playback speed. Adjust it to match your message. Test different options until it feels right.
Avoid making it too fast or too slow. The goal is to keep it smooth and natural. Balanced speed keeps viewers engaged.
Keep File Size Manageable
Large files can be hard to upload or share. Optimizing file size helps your GIF load faster online. It also makes it easier to use across platforms.
Use compression options in your tool. These reduce the size while keeping the quality. Some formats allow you to adjust color depth as well.
A smaller file size increases usability. It also ensures your GIF works well even on slower internet. This creates a better viewing experience.
Ensure Looping Works Well
GIFs usually loop by default. Smooth looping makes them more enjoyable to watch. Pick video segments that naturally repeat.
When trimming, cut at points that transition smoothly. Abrupt changes can look awkward. A seamless loop feels polished.
Most converters let you set looping options. Choose infinite looping for social sharing. This keeps viewers entertained longer.
Explore Creative Uses for GIFs
GIFs are not just for jokes. They can promote products, explain ideas, or show quick tutorials. They work well for grabbing attention.
In marketing, GIFs can boost engagement. They are eye-catching and easy to understand. Using them in digital content makes communication faster.
Experiment with different styles. Add effects, filters, or branding to stand out. Creative use helps you connect better with your audience.
Match GIFs with Your Purpose
Every GIF should serve a purpose. Whether it’s humor, education, or promotion, focus on your goal. This helps you choose the right video segment.
If you are creating content for social media, shorter and catchier GIFs work best. For tutorials, slower and detailed clips may be better. Match your GIF style to the audience.
Being clear about the purpose makes your GIFs more effective. It avoids confusion and keeps viewers interested. This way, your message comes across clearly.
Test Before Sharing
Before posting, test your GIF on different platforms. This ensures it looks good on all devices. Some sites may change quality during upload.
Check playback speed, looping, and clarity. If something looks off, adjust settings and try again. Testing prevents mistakes from going public.
Sharing polished GIFs builds trust with your audience. It shows attention to detail. A little extra effort makes a big difference.
Simple Steps to Convert MP4 to GIF Online and Share Stunning Visuals
Converting an MP4 video to an animated GIF is simple with the right tips. By focusing on quality, size, and purpose, you can create GIFs that stand out. The process is easy when you use the right tools and prepare your clips well.
GIFs are powerful for online GIF maker tools, marketing, and social sharing. They make digital content more fun and engaging. Start applying these tips today to bring more life to your videos.
Did you find this article helpful? Visit more of our blogs.